To make sure I know exactly how I will film and edit my video, I have looked up a few YouTube tutorials to refresh myself. Here are some of the things that I refamiliarised myself with using this video: Create different bins to store your footage within the software. Label your footage so you can colour-code your work. Apply colour-grading to the original clip in your footage library, that way you don't have to 'paste attributes' to each individual clip. Edit the colours of specific clips using the 'Master' tab in the 'Effect controls' of your video. Apply effects to an adjustment layer within your timeline so you don't have to edit each clip. Press the 'A' button on your keyboard, two arrows will pop up, select a clip - everything that comes after the clip in the timeline will be selected. This is a good way of selecting all of your clips without having to drag your mouse over every file. Hold 'Command' when dragging a clip into your tim...
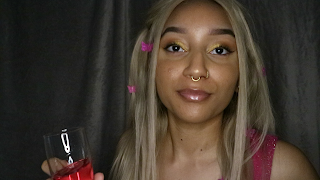
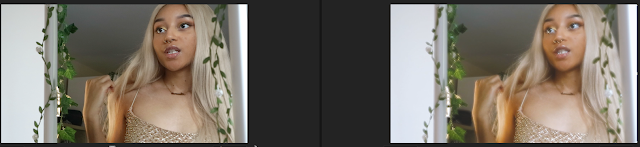
Now that my final edit is finally done, it is time to colour grade my work and make the whole piece look a lot more cohesive and aesthetically pleasing. Some of the darker shots definitely had to be touched up with brightness and contrast because once I tried to export the final edit, those shots looked a lot darker once exported than they did whilst I was editing them in Premiere Pro. For the main colours I wanted the video to look very soft and bright and really accentuate the sun in the brighter shots. To do this I flicked through some of the Pre-sets on the Premiere Pro Lumetri Colour option to find a good base, and I settled on 'KODAK 5218 KODAK 2395 (by Adobe)'. I then adjusted the hue, saturation, sharpness etc. on each of the shots until I was happy with how each one turned out. Here are some before and after shots of the raw footage against my edit. I was quite inspired by the music video for 'Say So' by Doja Cat where the video has this glittery and sparkly e...

Comments
Post a Comment